Ver 1.2 2023/01/17 - 제목 수정, (CU23, Nov22SU 기준)으로 수정 업데이트, 가상 메모리 설정을 설치 포스팅으로 이동, ECP에서 가상디렉터리 설정하는 부분 제거, 메일 송수신 로그 활성화 명령어 업데이트, 인증서 바인딩을 powershell 기준으로 변경, 큐DB 변경 추가
Ver 1.1 2021/04/12 - Exchange Server 2013. 기본 구성 (CU23기준) - 초판
Ver 1.0 2015/03/01 - Exchange Server 2013 설치 (2) :: 페푸리의 Office Server 이야기 (tistory.com) -> Only Archiving
지난 포스팅
2021.04.10 - [Exchange] - Exchange Server 2013. Deployment (1) 설치 (CU23, Nov22SU 기준)
설치과정 이후 기본 구성에 대해서 진행하겠습니다.
[단계1] 송신커넥터 설정 (Must)
수신은 별도의 설정 없이도 가능하지만, 송신은 반드시 커넥터 설정을 진행해야 합니다.
ECP 사이트 - 메일 흐름 - 송신 커넥터 - 새로 만들기

이름 지정 - 인터넷 선택 - 다음

다음

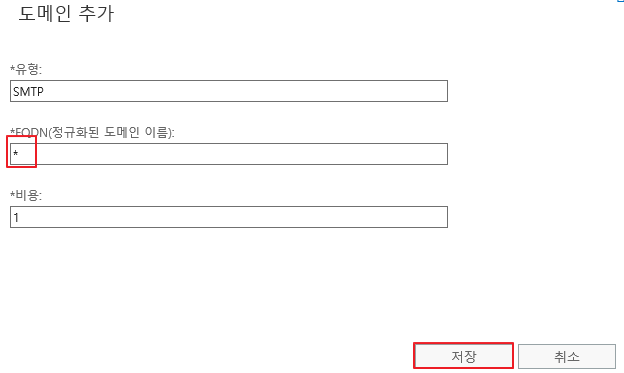
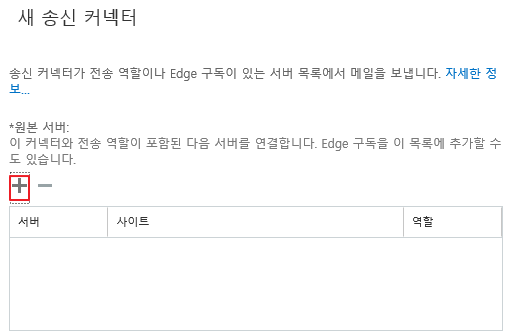
추가 버튼 클릭

FQDN에 * 입력 - 저장
다음

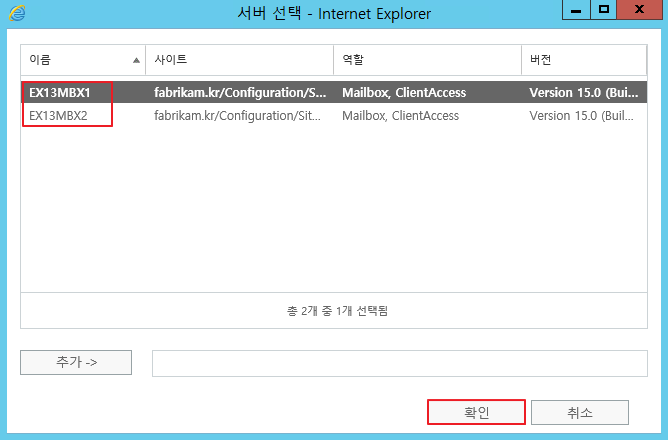
추가
저는 2대를 설치했기 때문에 2개가 표시됩니다. 추가 후 확인
마침

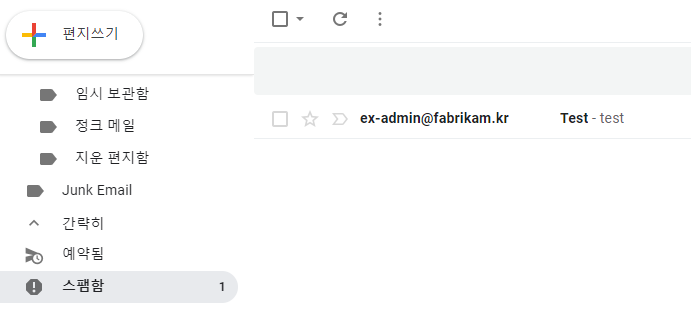
OWA 페이지( https://localhost/owa )에 접속 한 뒤, Gmail에 메일 발송을 시도합니다.
(Gmail로 시도하는 이유는 추가 작업 없이도 바로 메일 수신을 테스트할 수 있기 때문입니다.)
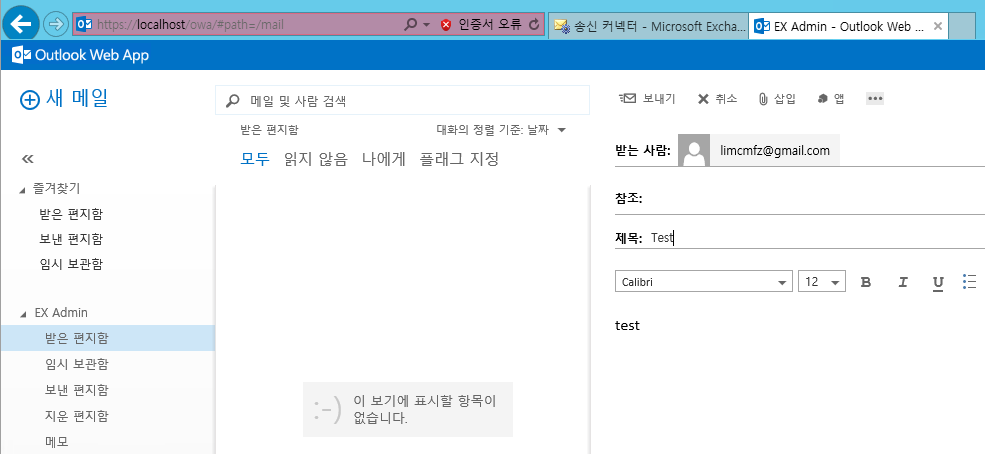
스팸함에서 확인할 수 있습니다.
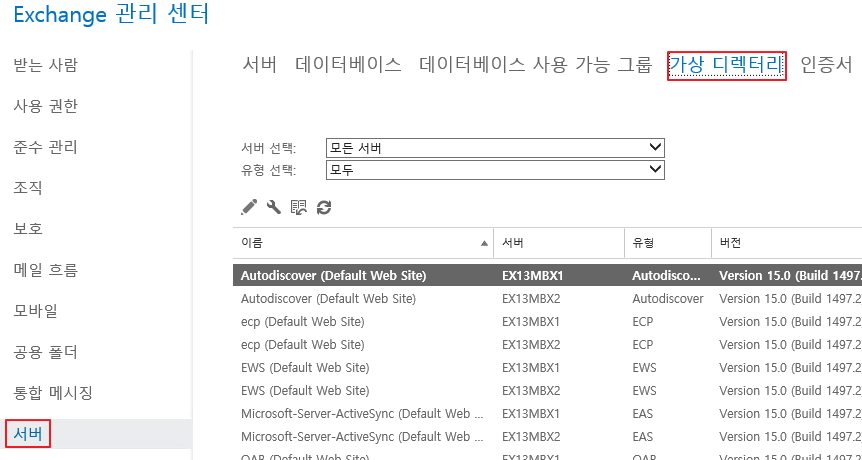
[단계2] 가상 디렉터리 설정 (Recommend)
Outlook 등 여러 Client 연결을 위해서 가상 디렉터리 설정을 진행합니다.
처음에는 아래의 UI 메뉴에서 변경하는 것을 기준으로 설명하였으나, 실제 사용시 내부, 외부 URL이 다르면 여러 문제가 발생되므로 PowerShell 기준으로 수정하였습니다.
Exchange Management Shell 을 관리자 권한으로 실행합니다.

아래의 내용을 붙여넣기 합니다.
#공통으로 지정할 URL 입력
$url = "https://mail.fabrikam.kr"
$autodiscover = "https://autodiscover.fabrikam.kr"

#Virtual Directory 내외부 동일하게 변경
#ECP
Get-EcpVirtualDirectory | Set-EcpVirtualDirectory -InternalUrl "$url/ecp"  -ExternalUrl "$url/ecp"
#EWS
Get-WebservicesVirtualDirectory | Set-WebservicesVirtualDirectory -InternalUrl "$url/ews/Exchange.asmx"  -ExternalUrl "$url/ews/Exchange.asmx"
#MAPI
Get-MapiVirtualDirectory | Set-MapiVirtualDirectory -InternalUrl "$url/mapi"  -ExternalUrl "$url/mapi"
#EAS
Get-ActiveSyncVirtualDirectory | Set-ActiveSyncVirtualDirectory -InternalUrl "$url/Microsoft-Server-ActiveSync"  -ExternalUrl "$url/Microsoft-Server-ActiveSync"
#OAB
Get-OabVirtualDirectory | Set-OabVirtualDirectory -InternalUrl "$url/oab"  -ExternalUrl "$url/oab"
#OWA
Get-OwaVirtualDirectory | Set-OwaVirtualDirectory -InternalUrl "$url/owa"  -ExternalUrl "$url/owa"

#Autodiscover
Get-ClientAccessServer | Set-ClientAccessServer -AutodiscoverServiceInternalUri "$autodiscover/autodiscover/autodiscover.xml"

#각각의 서버에서 아래의 명령어 진행
IISReset
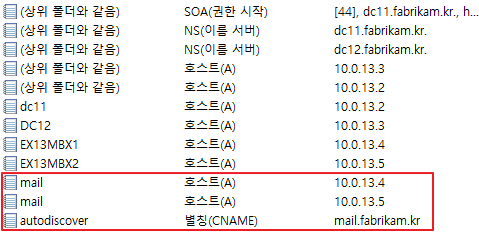
[단계3] DNS 설정
내부 DNS 서버, 외부 DNS 서버에 Autodiscover, OWA, MX 레코드에 대한 값을 입력합니다.
예시) 내부 DNS
예시 외부 DNS (공인IP 할당)

내부망에서 접속 테스트를 진행합니다.

[단계4] 인증서 설정
인증서 발급 과정은 이전 포스팅을 참고하시는 것이 좋습니다.
실제 국내 기업환경의 경우에는 인증서 업체에 직접 발급 받기 때문에 Exchange에서 요청서 만드는 과정은 많이 진행하지는 않습니다.
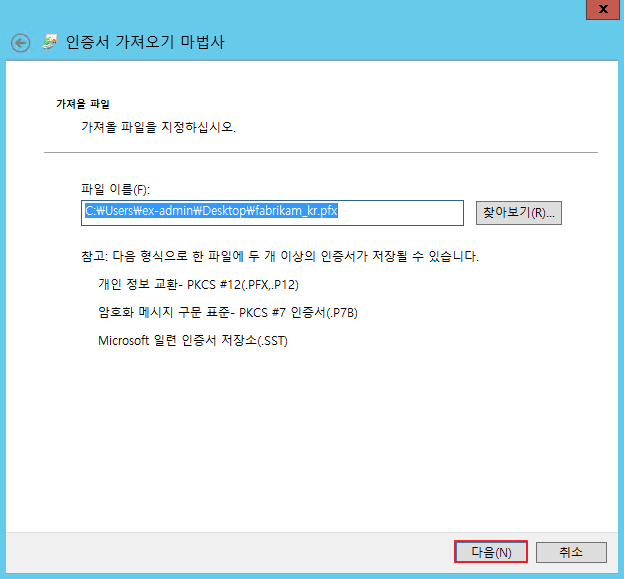
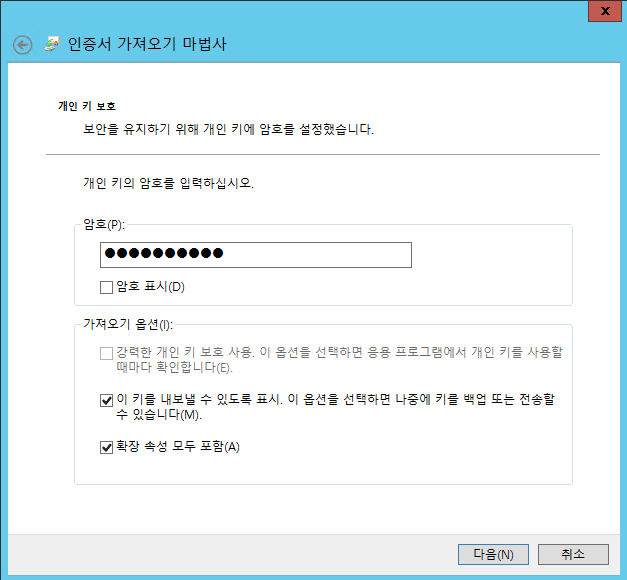
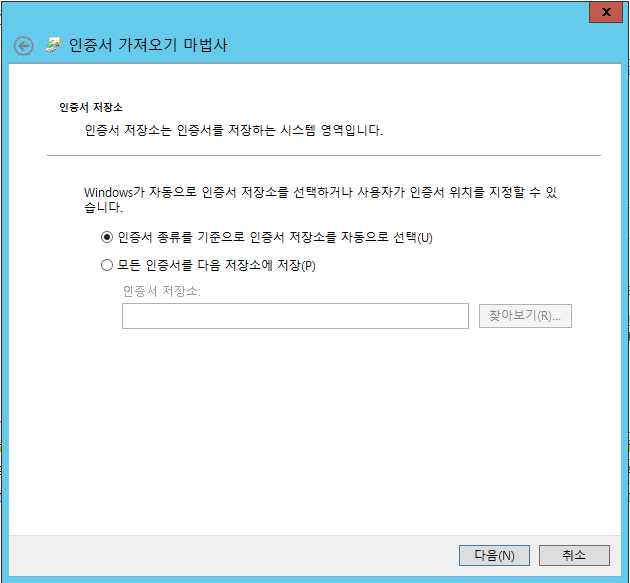
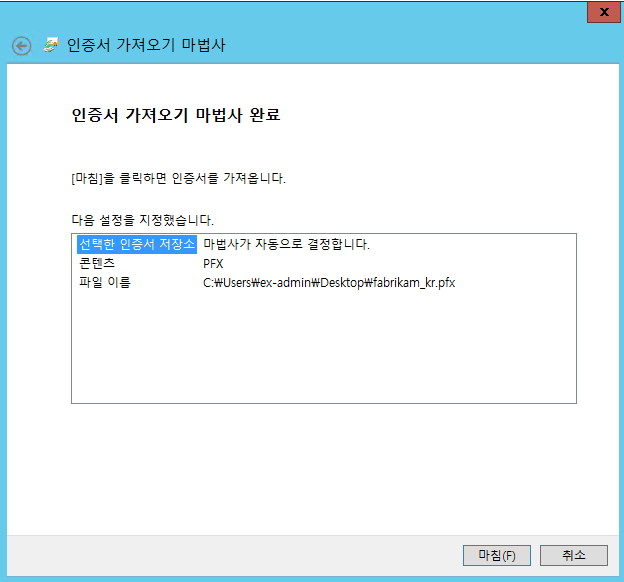
발급 받은 인증서를 각각의 Exchange 서버에 설치 합니다.
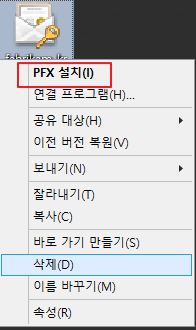
로컬 컴퓨터 지정 - 다음

다음
다음
다음
마침
#설치된 인증서 조회
Get-ExchangeCertificate

#인증서 바인딩
Enable-ExchangeCertificate -Thumbprint 9B3FAA519F3EEC7A7E5ABB0A2A365702BC3BC591 -Services IIS,SMTP -DoNotRequireSsl

#IIS 재시작
IISReset
브라우저에서 인증서 확인

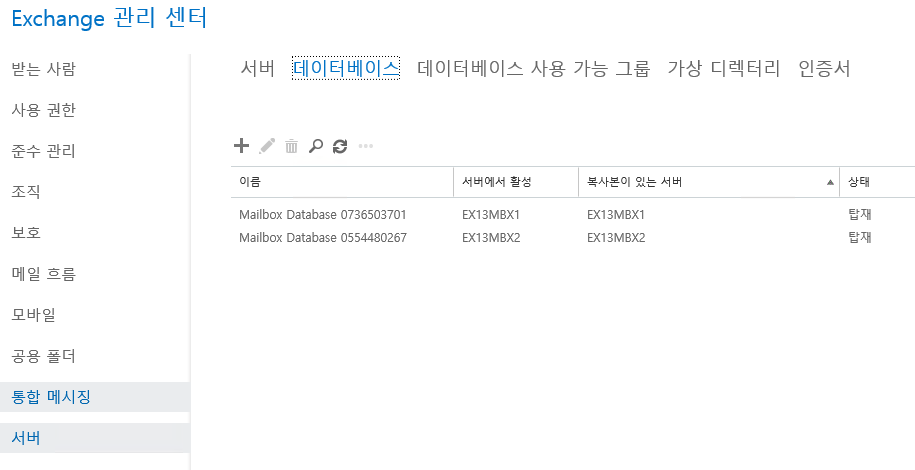
[단계5] DB 관리
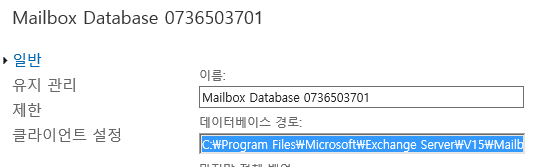
실제 환경에서 DB 위치와 설치경로를 동일하게 하는 경우는 거의 없습니다.
Performance 상으로도 그렇지만, 관리 목적으로도 별도의 드라이브 경로를 지정하는 것을 권장합니다.
우선 각각의 DB를 분리합니다.

우선 아래의 명령어로 DB이름을 변경합니다.
Get-MailboxDatabase -Identity "Mailbox Database 0736503701"|Set-Mailboxdatabase -Name "EDB01"
사전에 이동할 폴더를 생성한 뒤, 아래의 명령어로 이동합니다.
Move-DatabasePath "EDB01" -EdbFilePath "D:\EDB01\EDB01.edb" -LogFolderPath "D:\EDB01\"
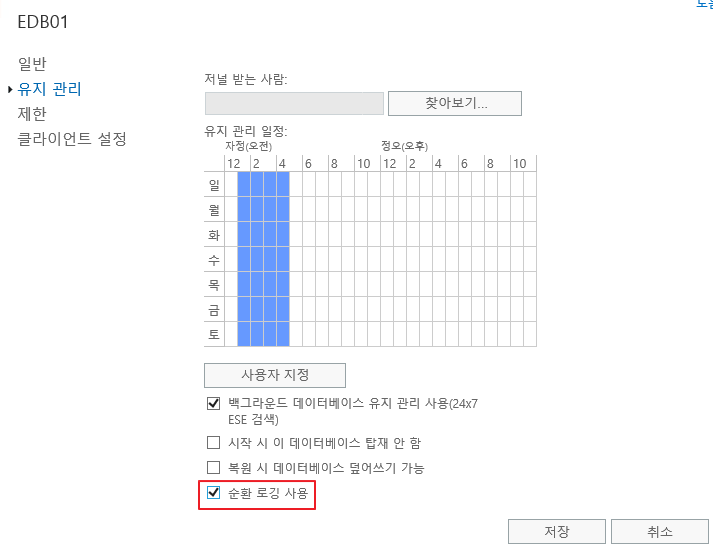
그리고 DB 의 로그의 용량은 상당하기 때문에, 백업 솔루션 사용여부에 따라서 순환 로깅 사용을 설정합니다. - 그리고 다시 탑재합니다.
#주의사항
처음 설치시 생성되는 DB에는 System Mailbox가 존재하므로 삭제하면 안됩니다.
[단계6] 메일 송수신 로그 활성화 및 경로 변경 (Optional)
SMTP와 관련된 로그가 일부 영역만 활성화 되어 있습니다.
Mail Flow 분석이 필요한 경우를 대비하여 관련 로그를 활성화하고, 경로 또한 별도로 관리하는 것을 권장합니다.
다음 명령어로 변경합니다.
#Exchange 메일 송수신 Log 위치 변경
$path= "E:\ExchangeLogs"

#Frontend Transport Service
Get-FrontendTransportService | Set-FrontendTransportService -ConnectivityLogPath "$path\Frontend\Connectivity" -ReceiveProtocolLogPath "$path\Frontend\ProtocolLog\SmtpReceive" -SendProtocolLogPath "$path\Frontend\ProtocolLog\SmtpSend" -AgentLogPath "$path\Frontend\AgentLog" -DnsLogPath "$path\Frontend\DNSLog" -DnsLogEnabled $true
Get-FrontendTransportService | Set-FrontendTransportService -IntraOrgConnectorProtocolLoggingLevel Verbose

#Transport Service
Get-Transportservice | Set-TransportService -ConnectivityLogPath "$path\Hub\Connectivity" -MessageTrackingLogPath "$path\MessageTracking" -IrmLogPath "$path\IRMLogs" -ActiveUserStatisticsLogPath "$path\Hub\ActiveUsersStats" -ServerStatisticsLogPath "$path\Hub\ServerStats" -ReceiveProtocolLogPath "$path\Hub\ProtocolLog\SmtpReceive" -SendProtocolLogPath "$path\Hub\ProtocolLog\SmtpSend" -QueueLogPath "$path\Hub\QueueViewer" -WlmLogPath "$path\Hub\WLM" -PipelineTracingPath "$path\Hub\PipelineTracing" -AgentLogPath "$path\Hub\AgentLog" -DNSLogEnabled $true -DnsLogPath "$path\Hub\DNSLog"
Get-TransportService | Set-TransportService -IntraOrgConnectorProtocolLoggingLevel Verbose

#Mailbox Transport Service
Get-MailboxTransportService | Set-MailboxTransportService -ConnectivityLogPath "$path\Mailbox\Connectivity" -ReceiveProtocolLogPath "$path\Mailbox\ProtocolLog\SmtpReceive" -SendProtocolLogPath "$path\Mailbox\ProtocolLog\SmtpSend" -MailboxDeliveryThrottlingLogPath "$path\Mailbox\ProtocolLog\Delivery" -MailboxDeliveryAgentLogPath "$path\Mailbox\AgentLog\Delivery" -MailboxSubmissionAgentLogPath "$path\Mailbox\AgentLog\Submission"
Get-MailboxTransportService | Set-MailboxTransportService -MailboxDeliveryConnectorProtocolLoggingLevel Verbose

#Enable Logging about Send & ReceiveConnector
Get-SendConnector | Set-SendConnector -Protocollog Verbose
Get-ReceiveConnector | Set-ReceiveConnector -Protocollog Verbose
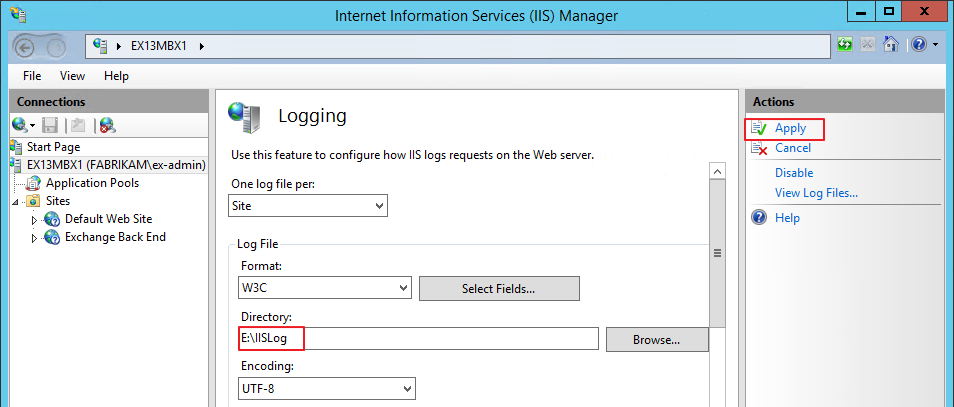
[단계7] IIS 로그 경로 변경 (Optional)
Exchange 에서 가장 리소스를 많이 차지하는 영역 중 하나는 IIS 입니다.
IIS Log는 별도로 관리하지 않으면, C 드라이브 용량이 부족해 질 수 있으므로 별도의 경로로 관리하는 것을 권장합니다.
IIS Manager - [서버] - Logging

아래와 같이 변경 후 적용
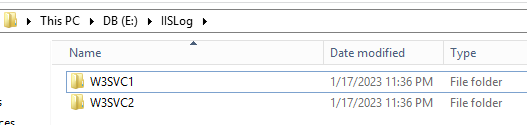
IISReset을 진행한 뒤, 아래와 같이 로그가 저장되는 것을 확인합니다.
[단계8] http to https redirection 설정 (Optional)
실제 기업환경은 대부분 http(80) 입력을 하였을 때, https(443)로 리디렉션 하는 설정을 진행합니다.
MS 기술자료에서 진행하는 방법이 자세히 설명되어 있으며, 아래의 자료를 기준으로 진행합니다.
Exchange Server에서 웹용 Outlook에 대 한 http 리디렉션을 구성 합니다.
#IIS 관리자를 사용하여 기본 웹 사이트에서 SSL 필요 설정을 제거
%windir%\system32\inetsrv\appcmd.exe set config "Default Web Site" -section:access -sslFlags:None -commit:APPHOST
#IIS 관리자를 사용하여 기본 웹 사이트의 다른 가상 디렉터리에 SSL 필요 설정 복원
%windir%\system32\inetsrv\appcmd.exe set config "Default Web Site/api" -section:Access -sslFlags:Ssl,Ssl128 -commit:APPHOST
%windir%\system32\inetsrv\appcmd.exe set config "Default Web Site/aspnet_client" -section:Access -sslFlags:Ssl,Ssl128 -commit:APPHOST
%windir%\system32\inetsrv\appcmd.exe set config "Default Web Site/Autodiscover" -section:Access -sslFlags:Ssl,Ssl128 -commit:APPHOST
%windir%\system32\inetsrv\appcmd.exe set config "Default Web Site/ecp" -section:Access -sslFlags:Ssl,Ssl128 -commit:APPHOST
%windir%\system32\inetsrv\appcmd.exe set config "Default Web Site/EWS" -section:Access -sslFlags:Ssl,Ssl128 -commit:APPHOST
%windir%\system32\inetsrv\appcmd.exe set config "Default Web Site/mapi" -section:Access -sslFlags:Ssl,Ssl128 -commit:APPHOST
%windir%\system32\inetsrv\appcmd.exe set config "Default Web Site/OAB" -section:Access -sslFlags:Ssl,Ssl128 -commit:APPHOST
%windir%\system32\inetsrv\appcmd.exe set config "Default Web Site/owa" -section:Access -sslFlags:Ssl,Ssl128 -commit:APPHOST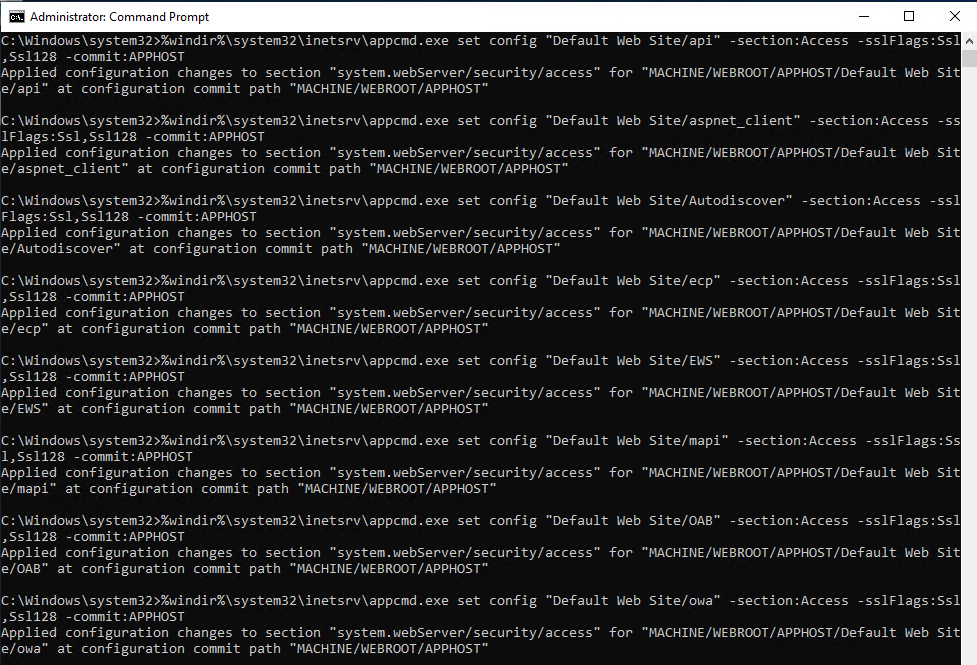
#IIS 관리자를 사용 하 여 기본 웹 사이트가/owa 가상 디렉터리로 리디렉션하도록 구성 합니다.
| %windir%\system32\inetsrv\appcmd.exe set config "Default Web Site" -section:httpredirect -enabled:true -destination:"https://mail.fabrikam.kr/owa" -childOnly:true |
- 표시된 부분은 실제 구성한 URL 을 입력합니다
#하위 가상 디렉터리에 대한 http 리디렉션 제거
%windir%\system32\inetsrv\appcmd.exe set config "Default Web Site/API" -section:httpredirect -enabled:false -destination:"" -childOnly:false
%windir%\system32\inetsrv\appcmd.exe set config "Default Web Site/aspnet_client" -section:httpredirect -enabled:false -destination:"" -childOnly:false
%windir%\system32\inetsrv\appcmd.exe set config "Default Web Site/ecp" -section:httpredirect -enabled:false -destination:"" -childOnly:false
%windir%\system32\inetsrv\appcmd.exe set config "Default Web Site/ews" -section:httpredirect -enabled:false -destination:"" -childOnly:false
%windir%\system32\inetsrv\appcmd.exe set config "Default Web Site/mapi" -section:httpredirect -enabled:false -destination:"" -childOnly:false
%windir%\system32\inetsrv\appcmd.exe set config "Default Web Site/owa" -section:httpredirect -enabled:false -destination:"" -childOnly:false
%windir%\system32\inetsrv\appcmd.exe set config "Default Web Site/powershell" -section:httpredirect -enabled:false -destination:"" -childOnly:false
%windir%\system32\inetsrv\appcmd.exe set config "Default Web Site/rpc" -section:httpredirect -enabled:false -destination:"" -childOnly:false
#IIS 다시시작
IISRESET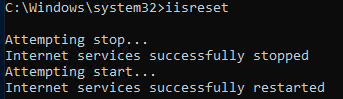
#만약 운영서버가 여러대라면, 모든서버에서 동일하게 진행합니다.
작동 여부는 어떻게 확인하나요?
- 클라이언트 컴퓨터에서 웹 브라우저를 열고 URL http://를 입력 합니다 <ServerName> . 로컬 서버에서 값 또는를 사용할 수 있습니다 http://127.0.0.1 http://localhost .
- Https에서 웹의 Outlook으로 리디렉션되어 있는지 확인 하 고 로그인 할 수 있는지 확인 합니다.
- URL http:// <ServerName> /owa 또는 또는를 엽니다 http://127.0.0.1/owa http://localhost/owa) .
- Https에서 웹의 Outlook으로 리디렉션되어 있는지 확인 하 고 로그인 할 수 있는지 확인 합니다.
#그리고 당연한 얘기이지만, 80 포트에 대한 포워딩 설정이 Exchange를 가르켜야 합니다.
아래와 같이 입력후 엔터 입력시

아래와 같이 리디렉션 됩니다.

[단계9] 큐 DB 위치 변경 (Optional)
기술자료: Change the location of the queue database | Microsoft Learn
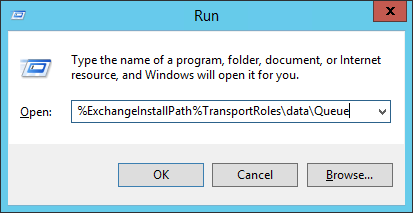
일반적으로는 아래의 경로에 큐DB가 존재합니다.
%ExchangeInstallPath%TransportRoles\data\Queue
큐에 메일이 쌓이면, Mail.que 파일이 커지게 됩니다. 디스크 용량이 부족해지는 수준에 도달하면 Transport 서비스가 중지됩니다. 이러한 서비스 장애를 사전에 예방하기 위해서 큐DB의 위치를 변경하여 관리하는 경우가 많습니다.
새로 지정할 큐DB 폴더를 생성합니다.

명령 프롬프트를 관리자 권한으로 실행합니다.

다음 명령어를 실행합니다.
Notepad %ExchangeInstallPath%Bin\EdgeTransport.exe.config
다음 위치를 찾습니다.
<add key="QueueDatabasePath" value="<LocalPath>" />
<add key="QueueDatabaseLoggingPath" value="<LocalPath>" />
아래와 같이 변경합니다.
<add key="QueueDatabasePath" value="D:\QueueDB" />
<add key="QueueDatabaseLoggingPath" value="D:\QueueDB" />
Microsoft Exchange Transport 서비스를 재시작합니다.

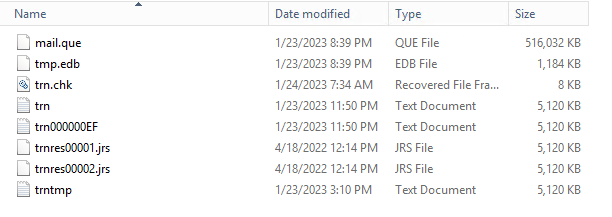
아래와 같이 변경되는 것을 확인할 수 있습니다.

이벤트 로그 상에서 새 큐DB가 생성된 것이 기록됩니다.

#주의사항
CU 업데이트가 진행될 경우, 설정파일이 초기화 될 수 있습니다. 업데이트 후 설정 값을 반드시 확인합니다.
'Exchange' 카테고리의 다른 글
| Exchange Hybrid. 메일 그룹으로 메일 발송 시 승인 기능이 동작하지 않는 증상 (0) | 2021.07.10 |
|---|---|
| Exchange Server 2010. 오프라인 주소록(OAB) 다운로드시 처리 중 메시지에서 진행되지 않는 증상 (0) | 2021.07.09 |
| Exchange Server 2013. Deployment (1) 설치 (CU23, Nov22SU 기준) (1) | 2021.04.10 |
| Exchange Server 2019. OWA SSO 설정 방법 (0) | 2021.01.23 |
| Exchange Server 2019. Deployment (2) 구성 (CU12, Jan23SU 기준) (0) | 2020.12.11 |