Deploy Microsoft Defender for Identity (MDI) (1). Configuration
MDI 는 아래의 글로 새로 작성하였습니다.
2024.04.28 - [Microsoft Defender XDR/MDI] - Microsoft Defender for Identity (MDI). (0) Introduction
원래는 내용을 수정하면서 작성하려고 하였으나, 방향성이 크게 달라져서 글을 새로 작성하기 시작하였습니다.
아래의 글은 참고만 하시기 바랍니다.
이번에는 Microsoft Defender for Identity (MDI) 를 구성해 보겠습니다.
아래의 자료를 보면 Domain Controller나 ADFS 에서의 이벤트로그를 기반으로 Identity와 관련된 활동 기록이나 경고를 남겨주는 개념으로 이해하였습니다.
Microsoft Defender for Identity란? | Microsoft Docs
Microsoft Defender for Identity 아키텍처 | Microsoft Docs
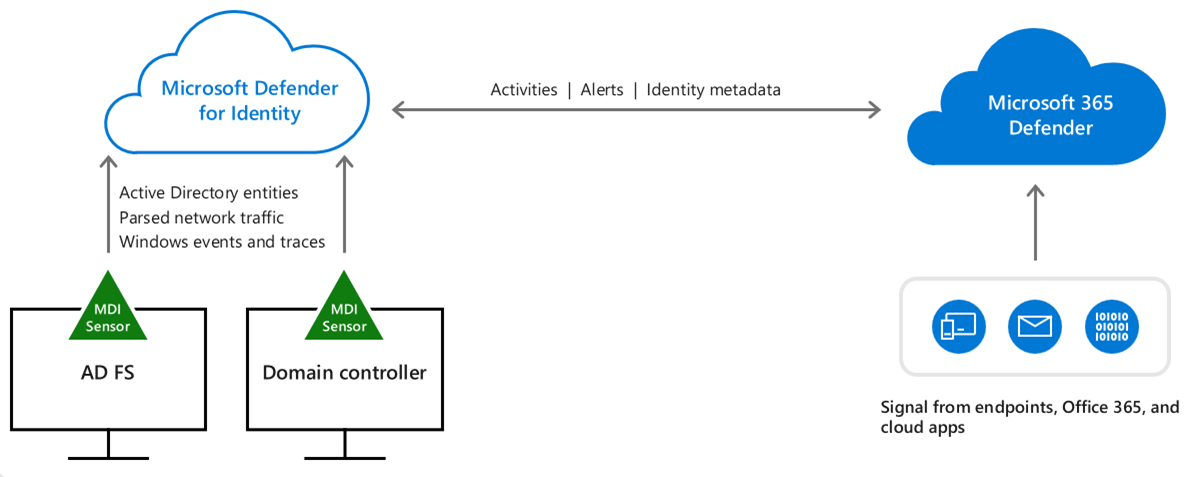
참고로 ADFS는 감사 설정이 되어있다는 것을 전재로 진행합니다.
[단계1] Configure Windows Event collection
기술자료
Microsoft Defender for Identity에서 Windows 이벤트 수집 구성 | Microsoft Docs
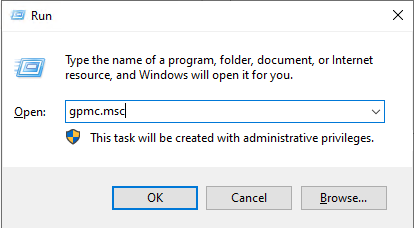
DC에서 gpmc.msc 실행
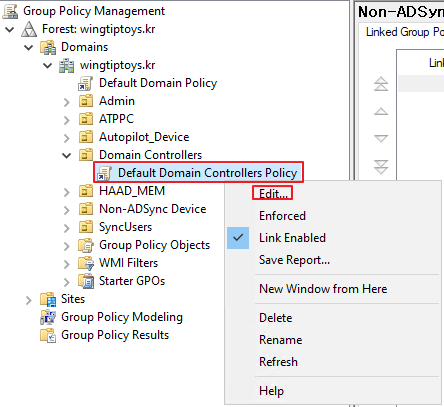
Domain Controllers -> Edit
[1-1] Configure audit policies
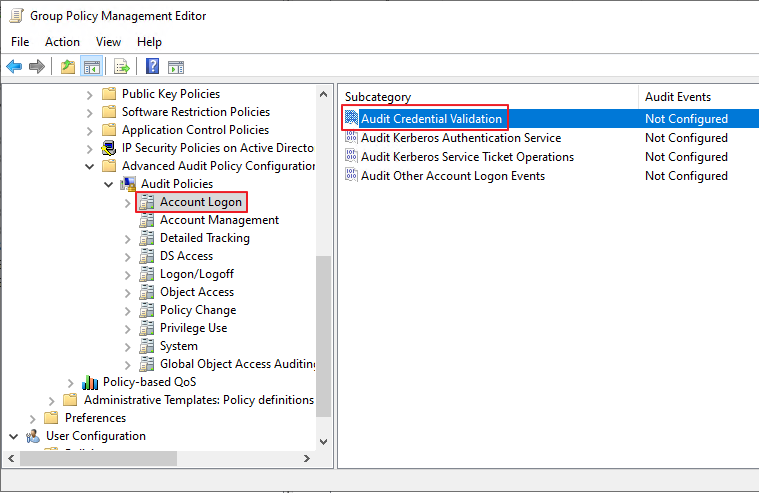
Computer Configuration -> Policies -> Windows Settings -> Security Settings -> Advanced Audit Policy Configuration
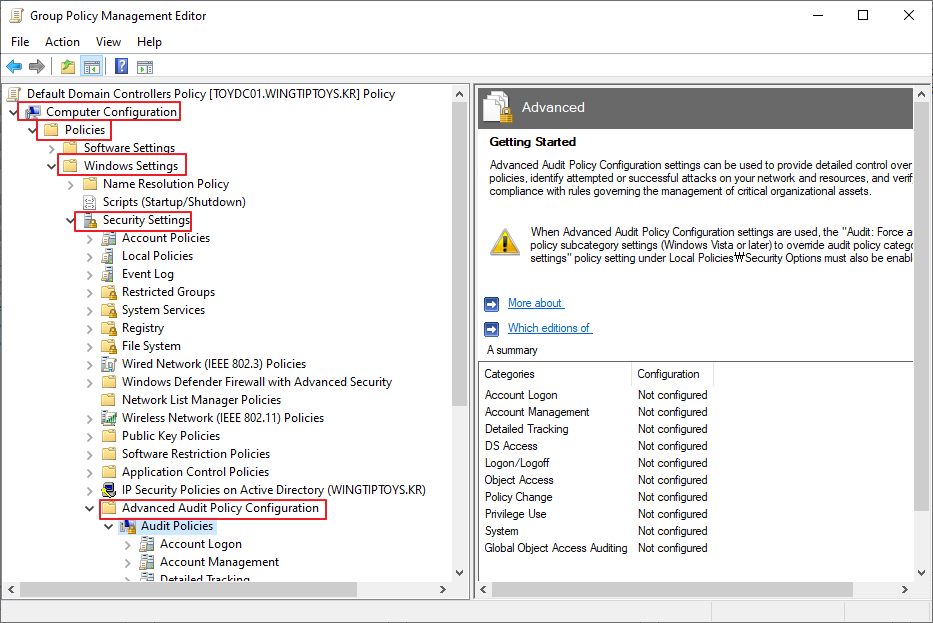
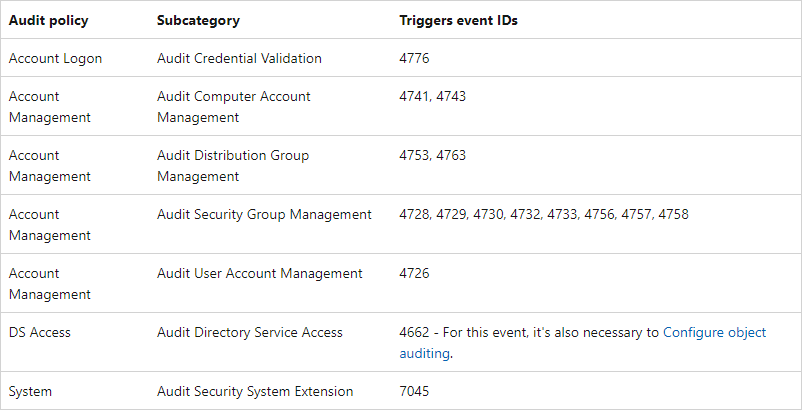
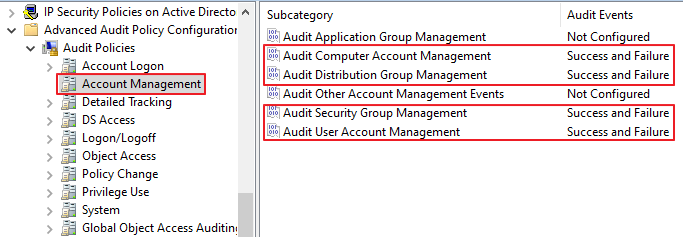
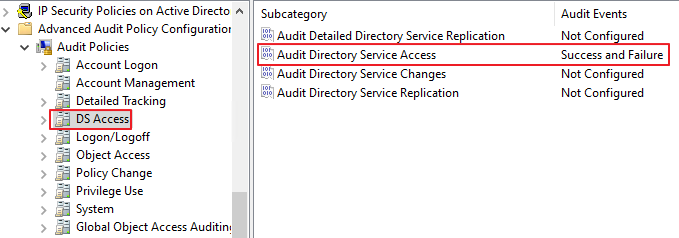
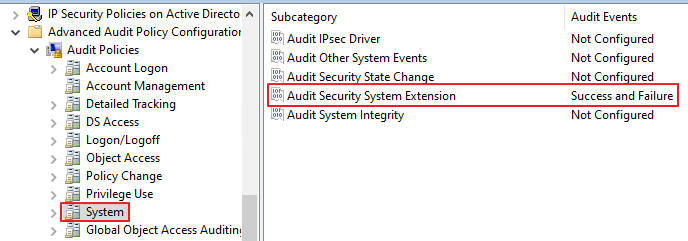
아래의 항목들에 대해서 Success, Failure 이벤트를 활성화 합니다.
예를 들면, Account Logon -> Audit Credential Validation
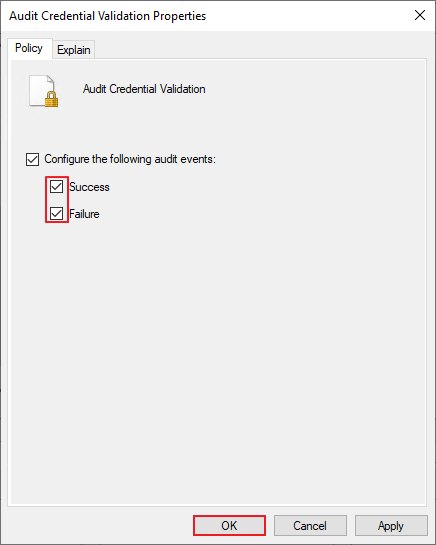
Success, Failure 체크 -> OK
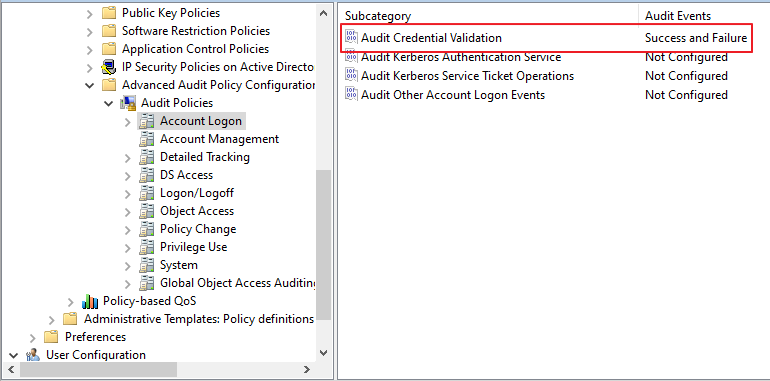
확인
같은 방식으로 리스트에 있는 Event를 전부 설정합니다.
Account Management
DS Access
System
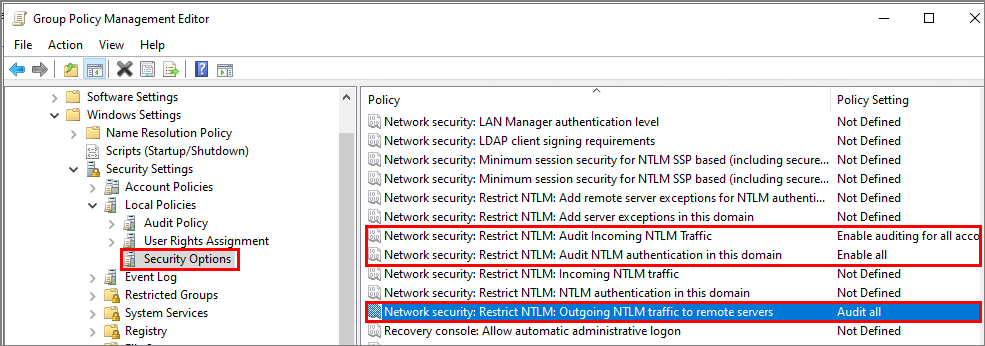
[1-2] Event ID 8004
Computer Configuration -> Policies -> Windows Settings -> Security Settings -> Local Policies -> Security Options 로 이동한 뒤, 아래와 같이 정책을 설정합니다.
[1-3] 개체 감사 구성 Event ID 4662
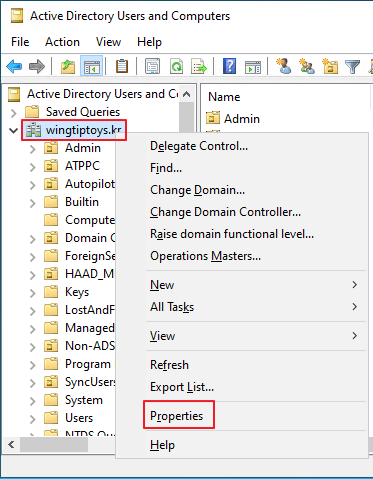
Active Directory Users and Computers -> 도메인 -> 우클릭 -> Properties
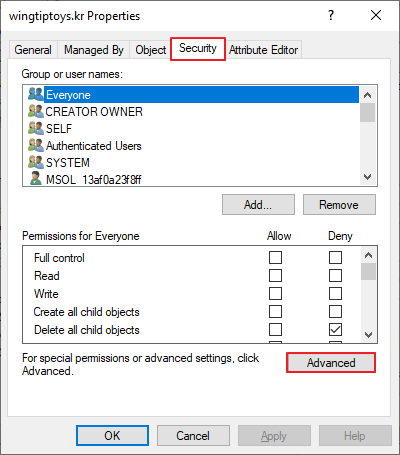
Security -> Advanced
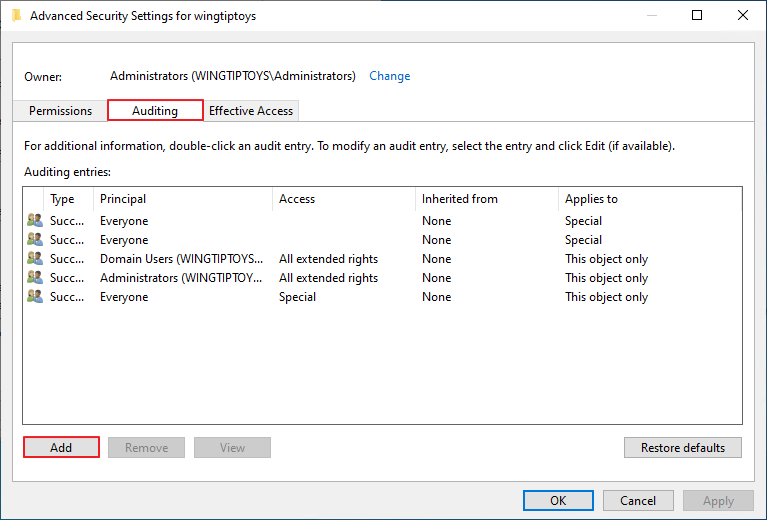
Auditing -> Add
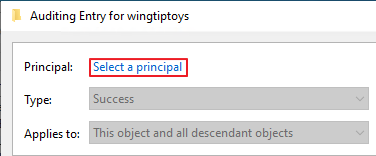
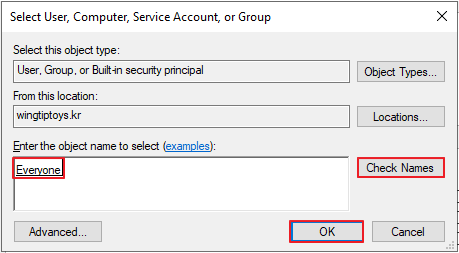
Select a principal
Everyone -> Check Names -> OK
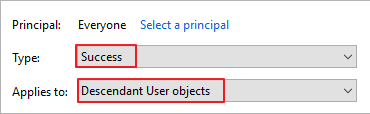
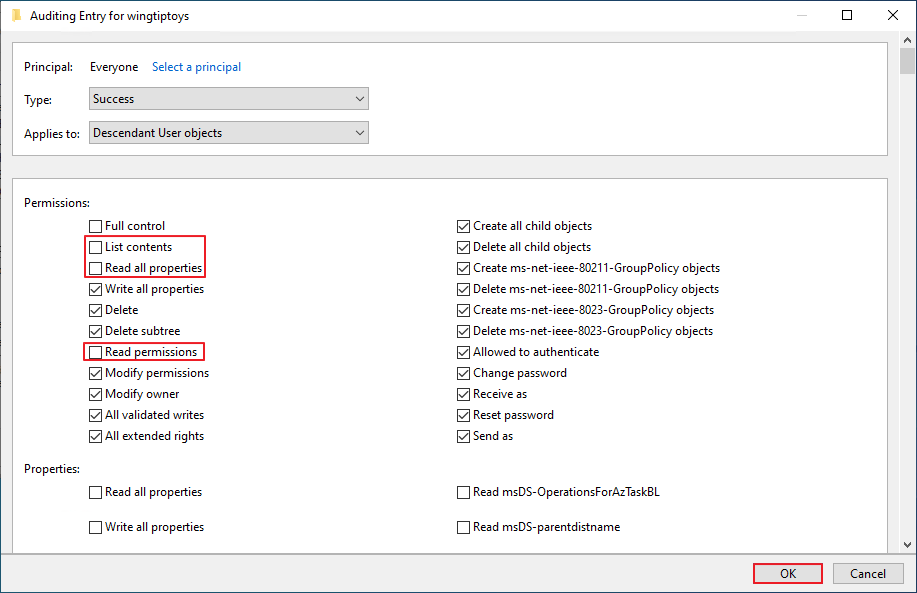
Type: Success
Applies to: Descendant User objects
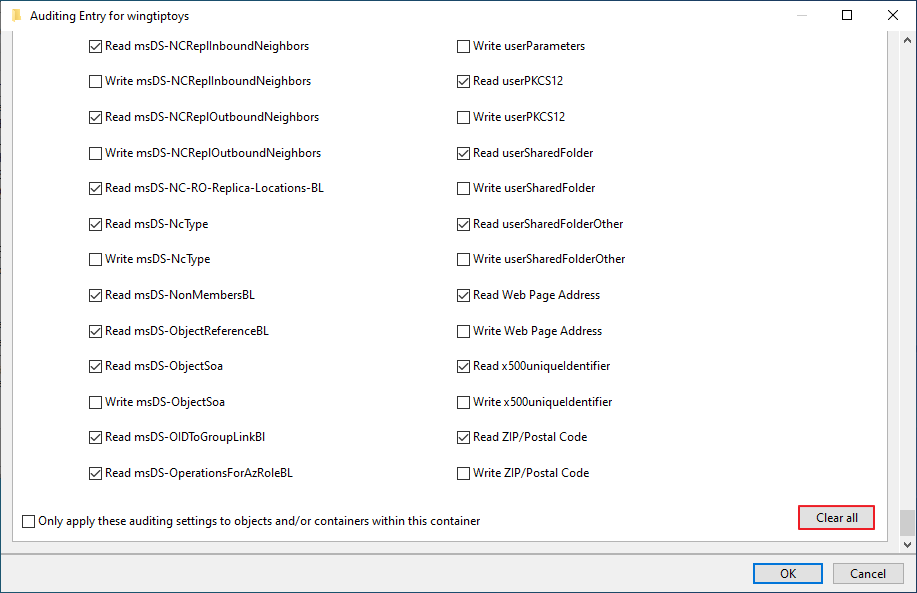
우측 하단의 Clear all
Full control
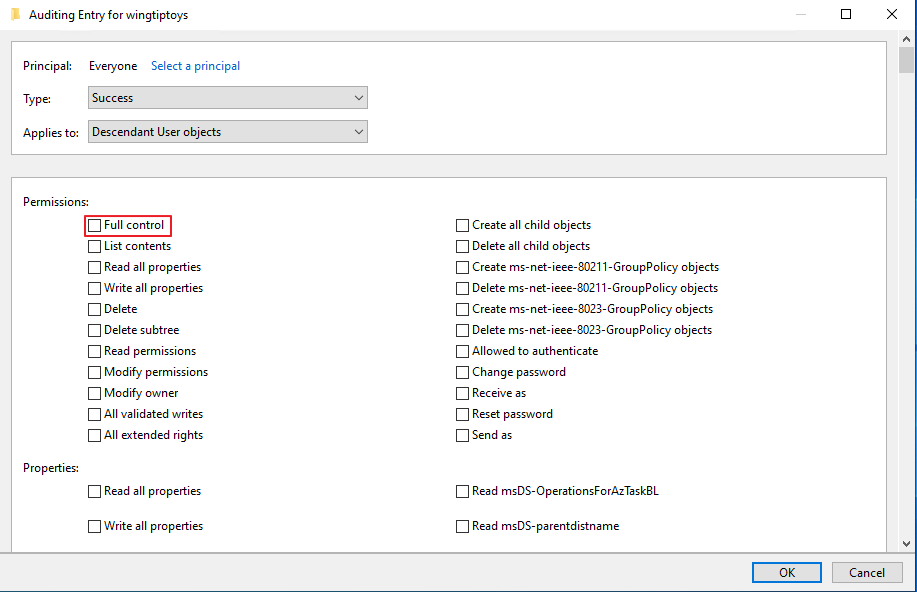
List contens, Read all properties, Read permission -> OK
[1-5] Enable auditing on an ADFS object
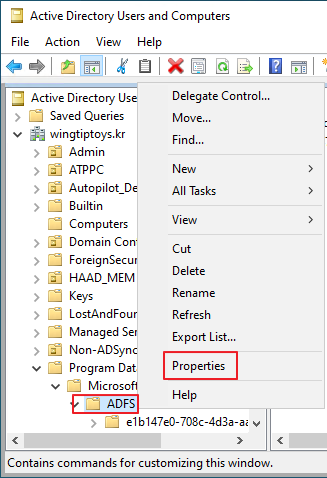
Active Directory Users and Computer -> Program Data -> Microsoft -> ADFS -> 우클릭 -> Properties
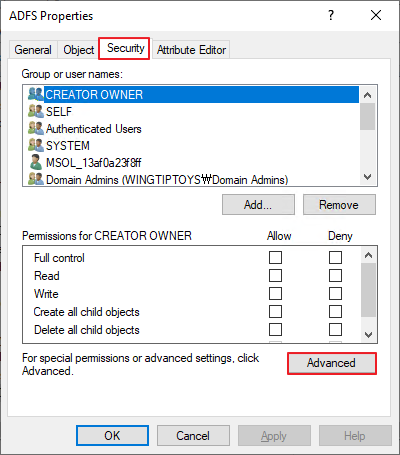
Security -> Advanced
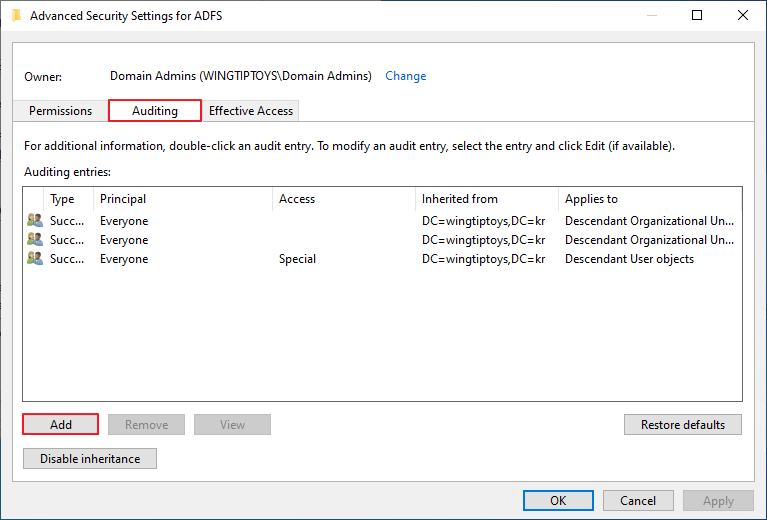
Auditing -> Add
Select a principal
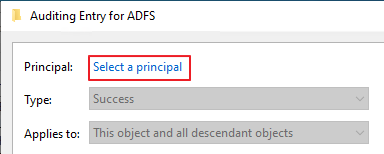
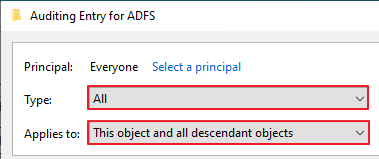
Type: All
Aplies to: This object and all descendant objects
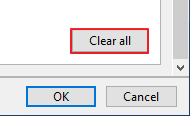
우측 하단의 Clear all
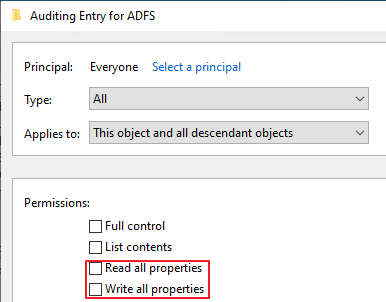
Read all properties, Write all properties 체크 -> OK
[1-6] Enable auditing on an Exchange object
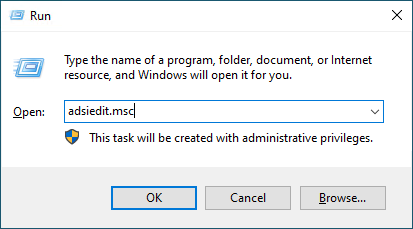
Adsiedit.msc
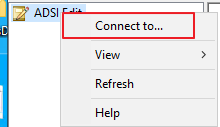
ADSI Edit 우클릭 -> Connect to
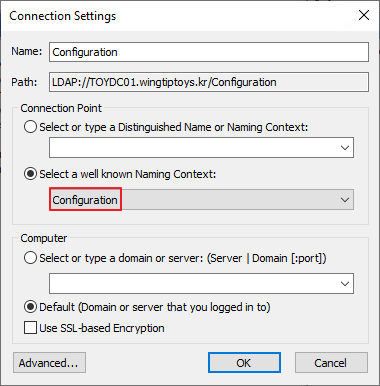
Configuration
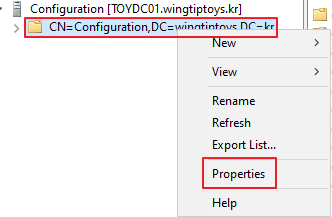
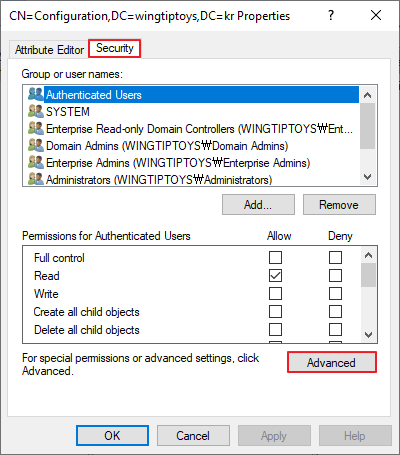
CN=Configuration,DC=~~~ 우클릭 -> Properties
Security -> Advanced
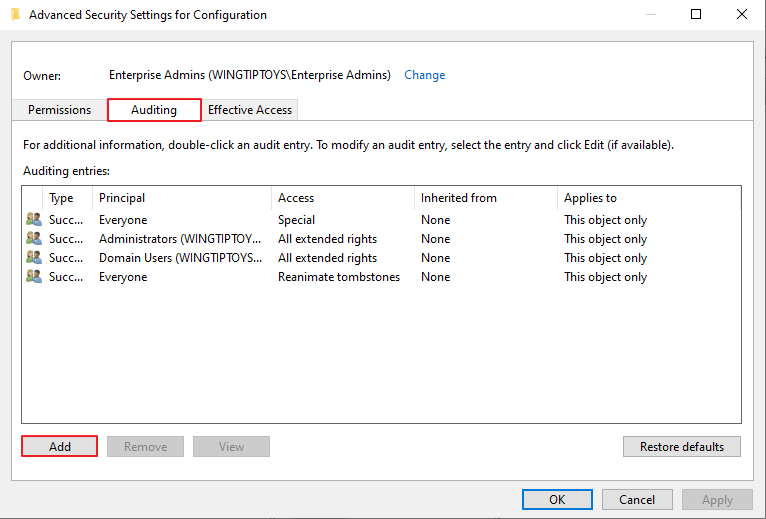
Auditing -> Add
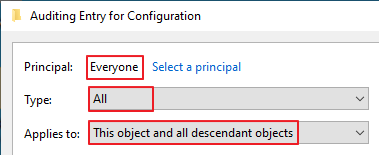
Principal: Everyone
Type: All
Applies to: This object and all descendant objects
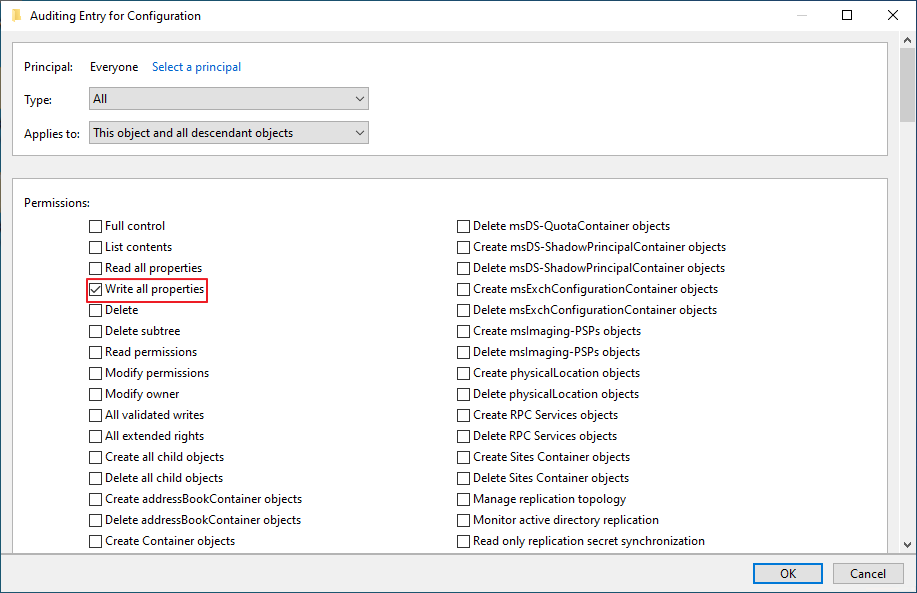
우측 하단의 Clear all

Write all properties
[단계2] Directory Service account(DSA) 생성
기술자료
Directory Service account recommendations | Microsoft Docs
이 포스팅에서는 gMSA 를 기준으로 작성하였습니다.
DC에서 그룹생성
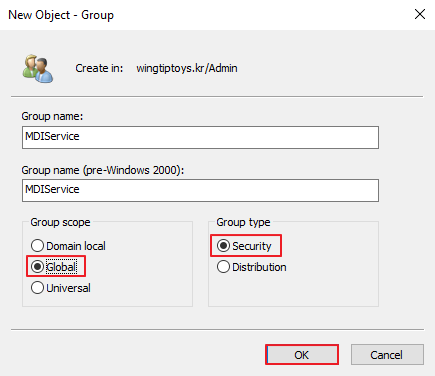
확인

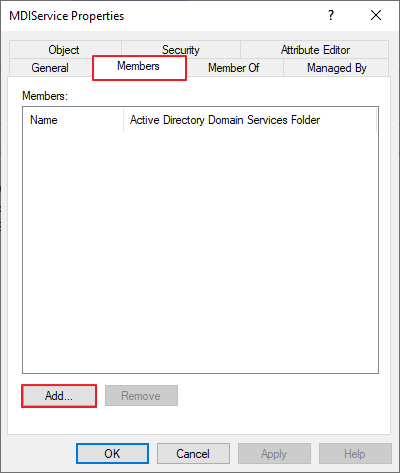
Members -> Add
Object Types -> Computers
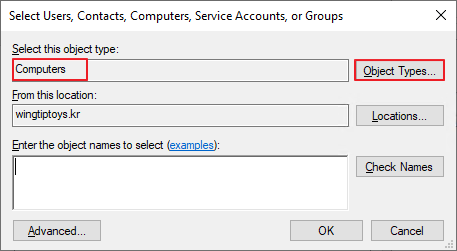
DC와 ADFS 를 지정 -> OK

Add-KdsRootKey -EffectiveTime (Get-Date).Addhours(-10)

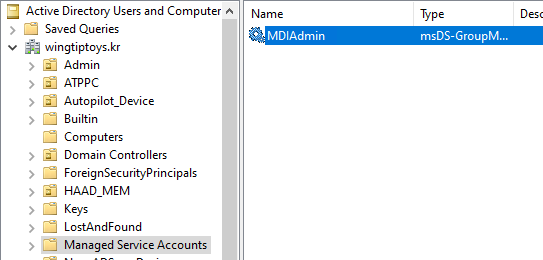
New-ADServiceAccount -Name MDIAdmin -DNSHostName “mdiadmin.wingtiptoys.kr” -PrincipalsAllowedToRetrieveManagedPassword MDIService

Install-ADServiceAccount MDIAdmin
Test-ADServiceAccount MDIAdmin


확인
[2-2] SAM에 대한 원격 호출을 만들도록 Microsoft Defender for Identity 구성
이 정책은 도메인 컨트롤러를 제외한 나머지 PC들에 적용해야 합니다.
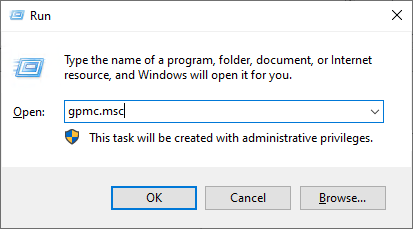
Gpmc.msc
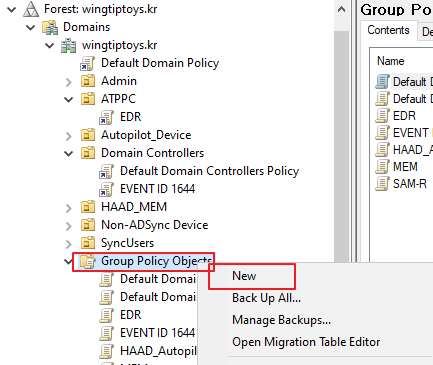
Group Policy Objects -> 우클릭 -> New
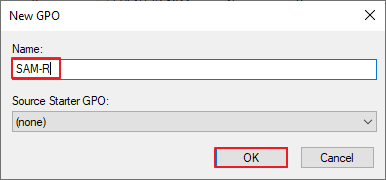
이름 지정 -> OK
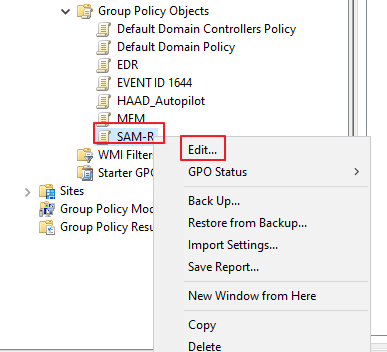
생성된 정책 선택 -> Edit
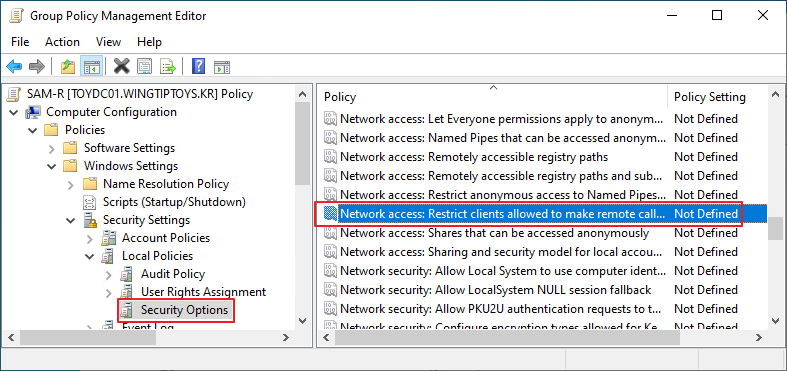
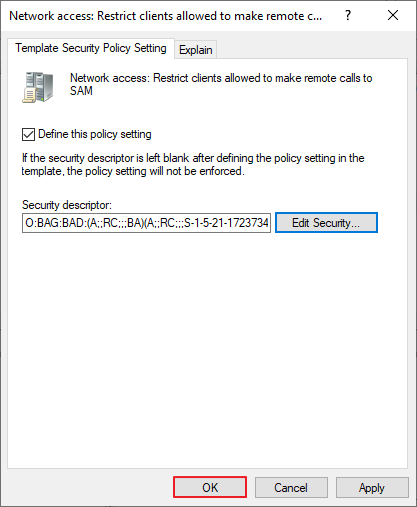
Computer Configuration -> Policies -> Windows Settings -> Security Settings -> Local Policies -> Security Options -> Network access – Restrict clients allowed to make remote calls to SAM
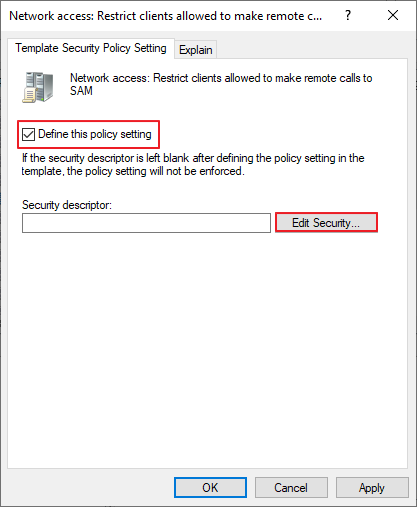
Define this policy settings -> Edit Security
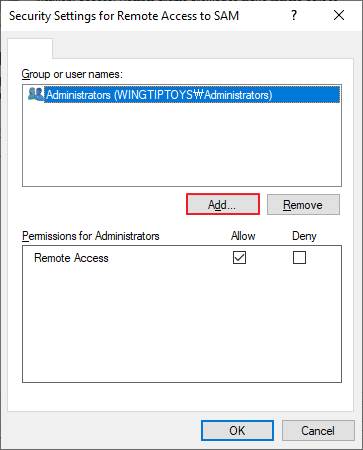
Add
gMSA 계정 추가
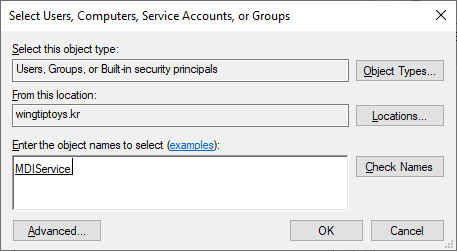
OK
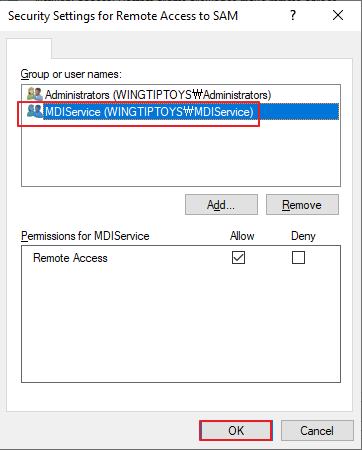
OK
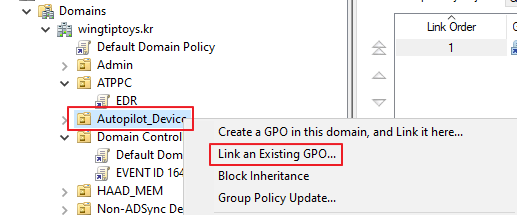
해당 정책을 컴퓨터 OU들과 연결합니다.
[단계3] Sensor 설치 및 설정
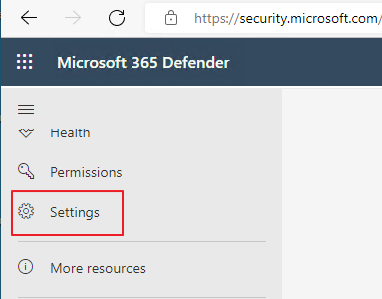
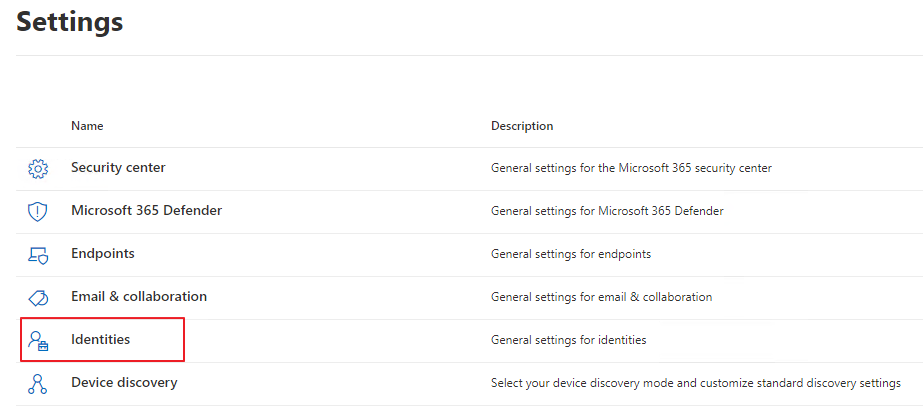
Microsoft Defender (https://security.microsoft.com/) -> Settings
Identities
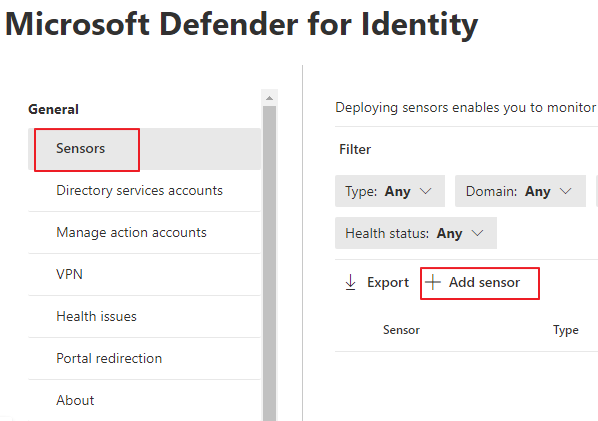
Sensors -> Add sensor
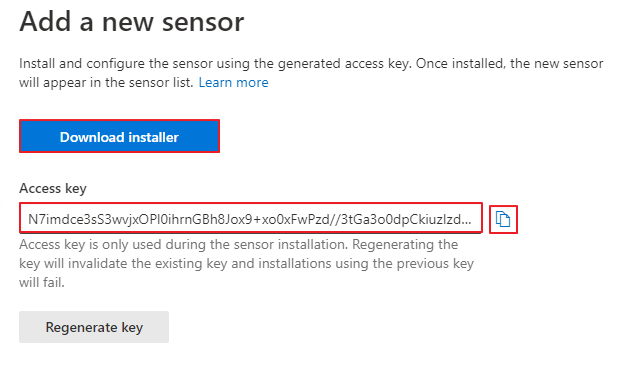
Access key를 복사해 놓은 뒤, Download installer 를 클릭합니다.
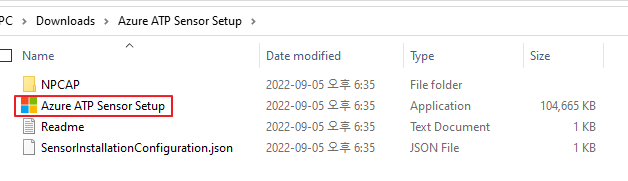
다운로드한 zip파일을 압축해제 한 뒤, Azure ATP Sensor Setup 을 실행합니다.
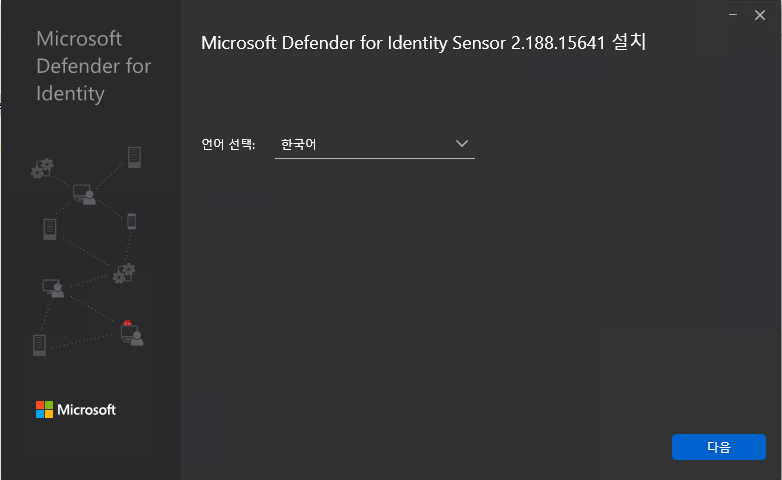
언어 선택 -> 다음
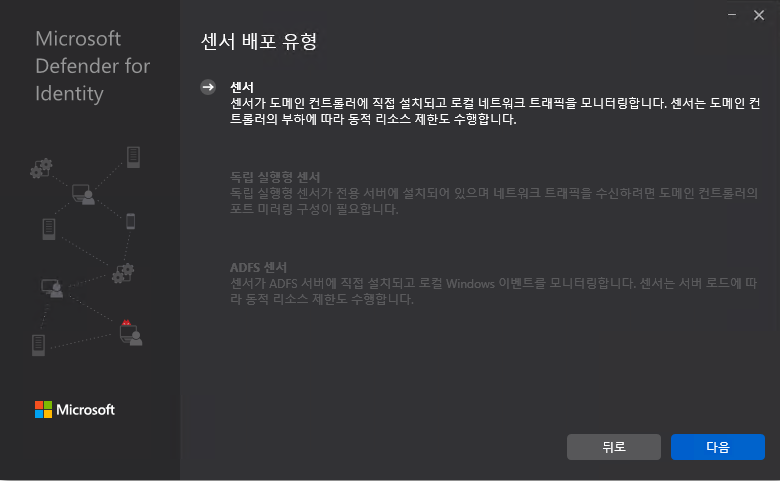
다음
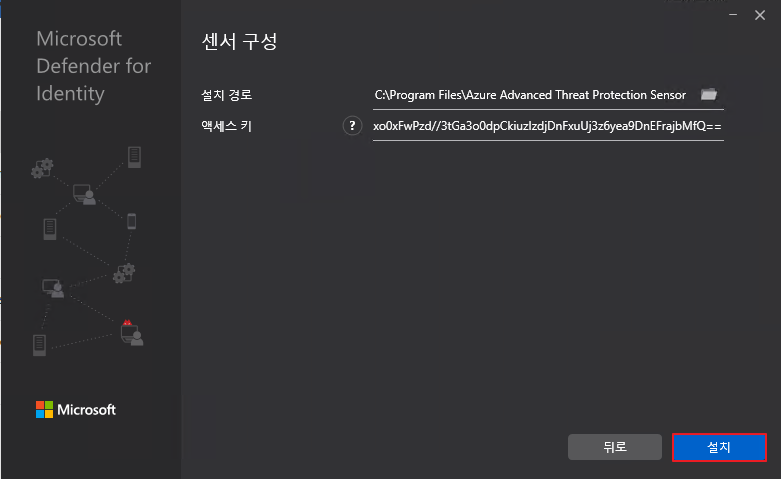
액세스키 붙여넣기 진행 후, 설치
마침
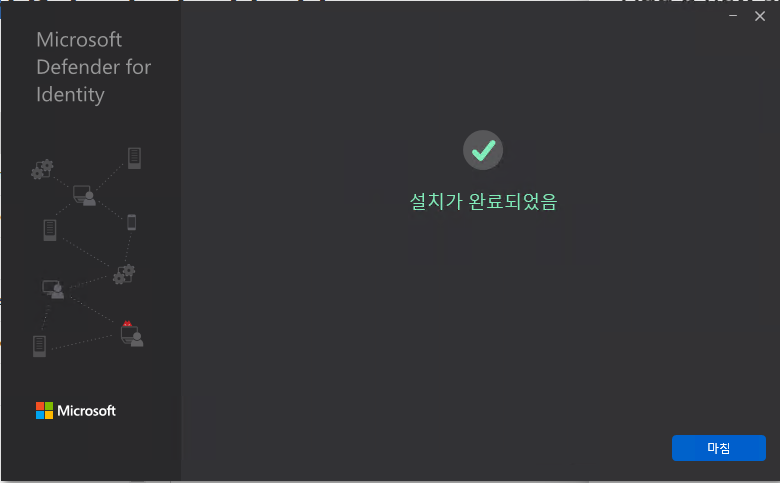
아래와 같이 설치된 것을 확인할 수 있습니다.
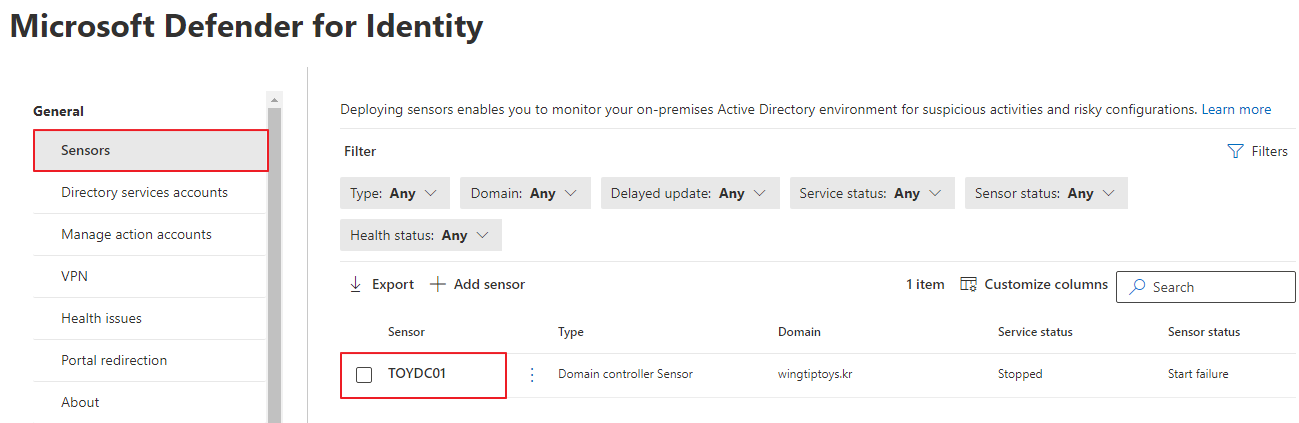
나머지 DC, ADFS도 동일하게 설치를 진행합니다.
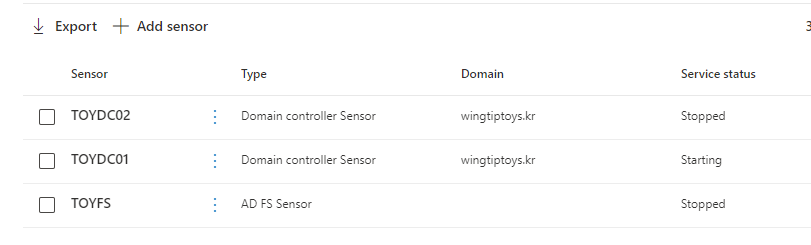
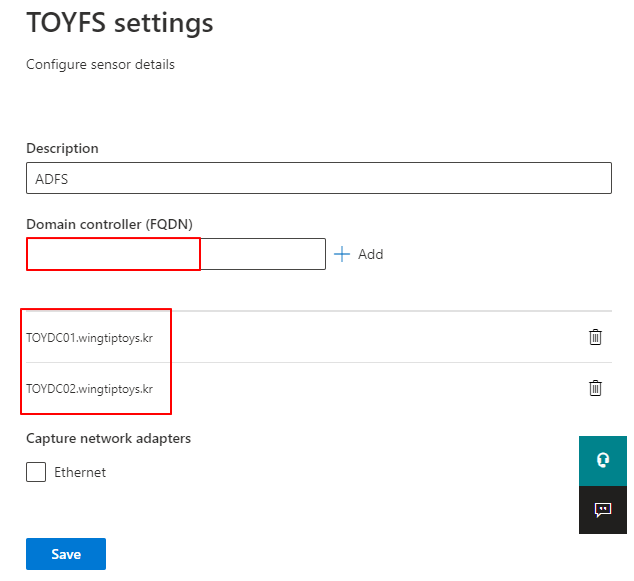
ADFS 머신 선택 -> Manage Sensor

Domain Controller 추가
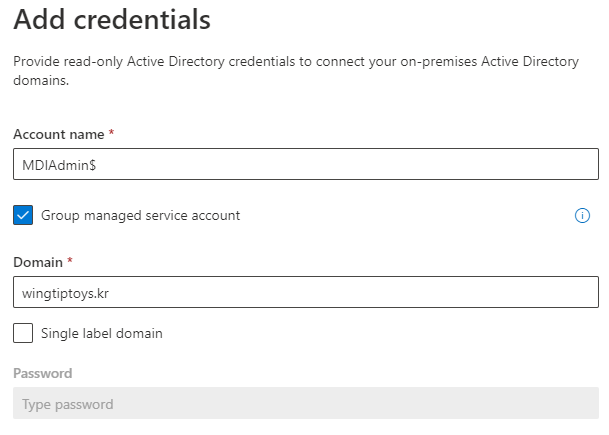
Directoy services accounts -> Add credentials
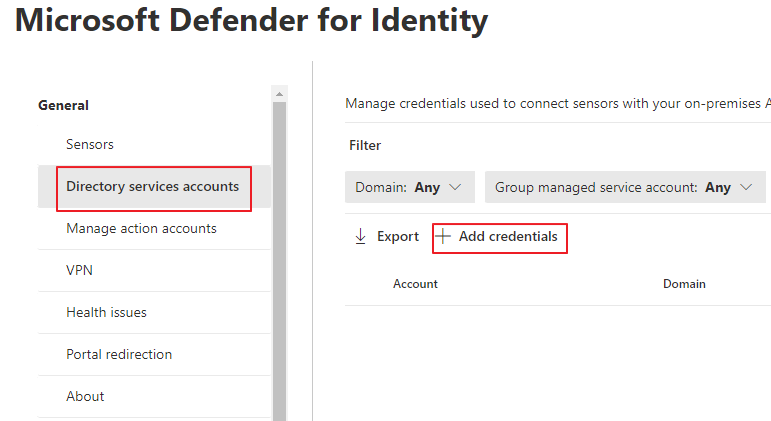
생성한 gMSA 계정을 입력합니다. 마지막에 $를 입력합니다.
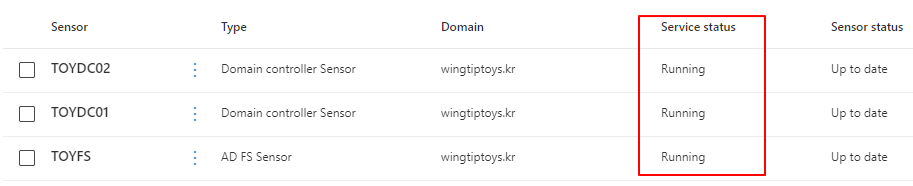
일정시간이 지나면 - Service Status 에서 Running으로 변경되는 것을 확인할 수 있습니다.
구체적인 동작 확인은 다음 포스팅에 업데이트 하겠습니다.